Fusion 360 3d Sketch Spline
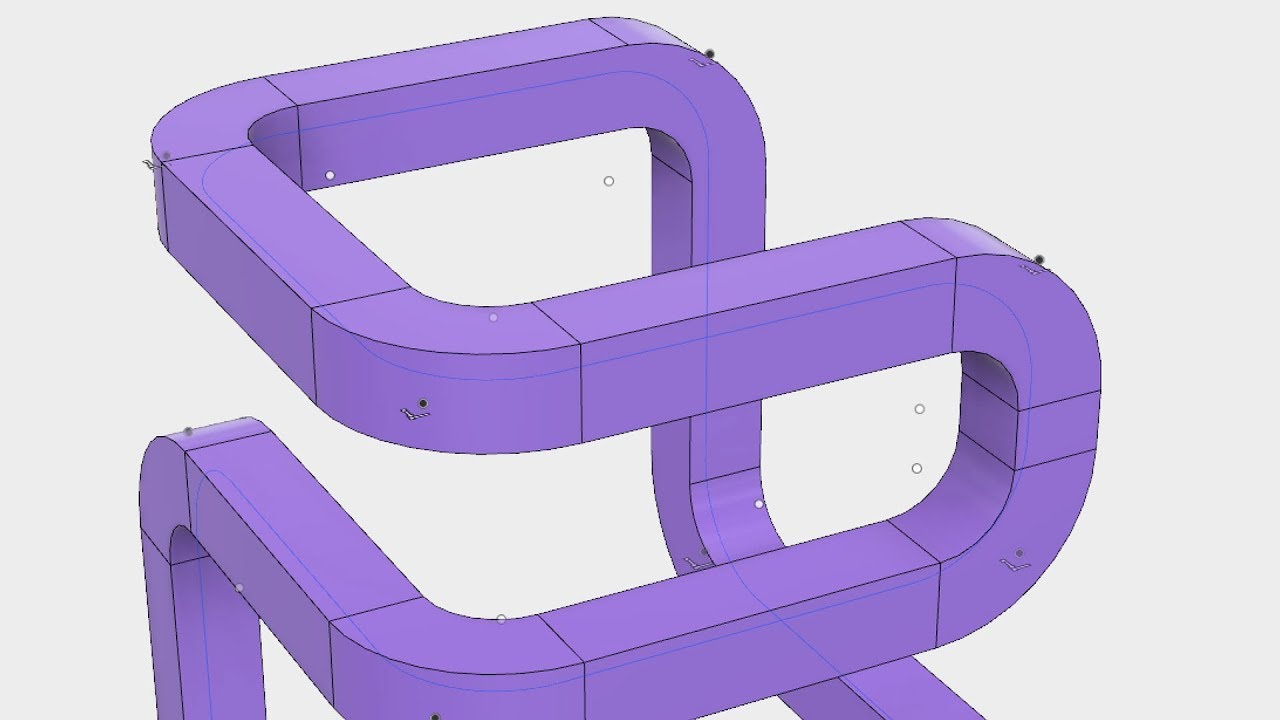
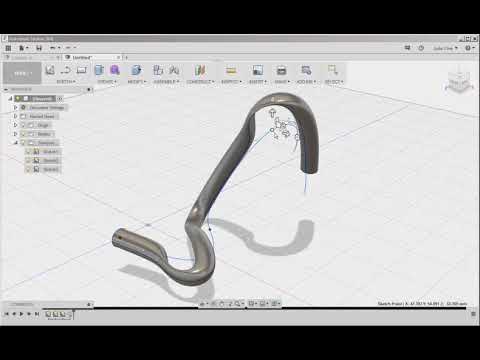
All sketches in fusion 360 are also 3d in nature.

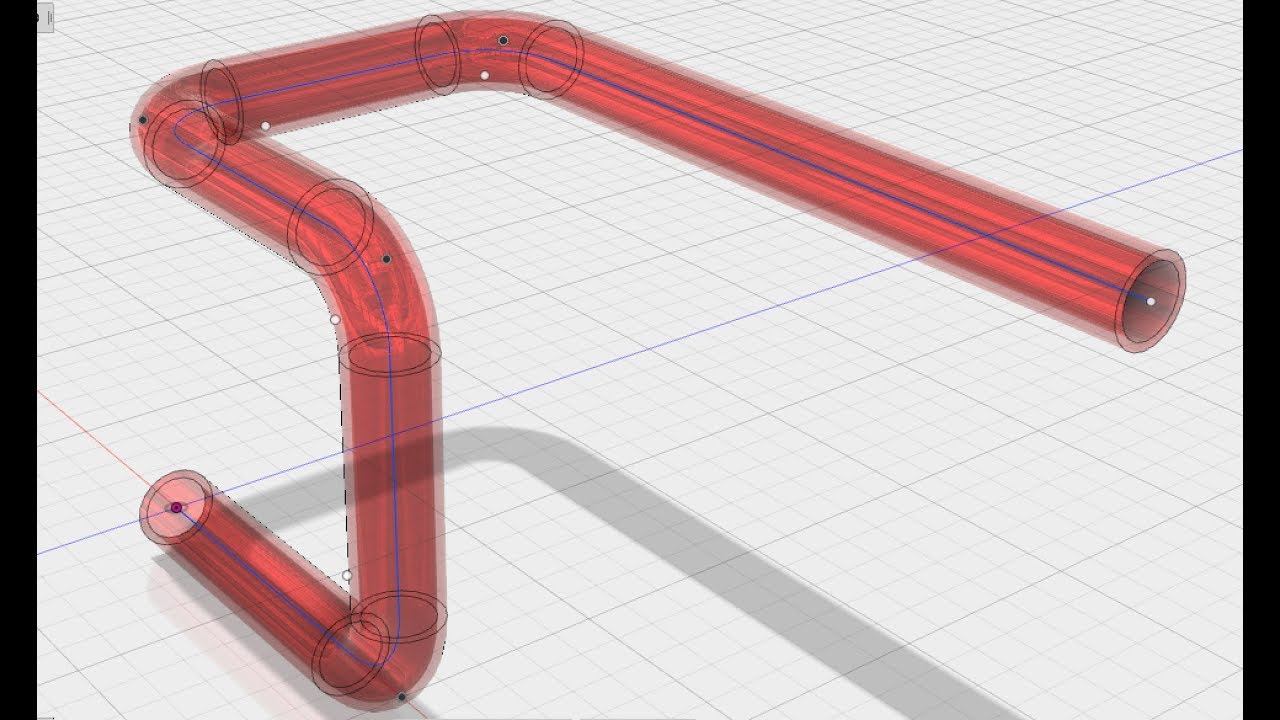
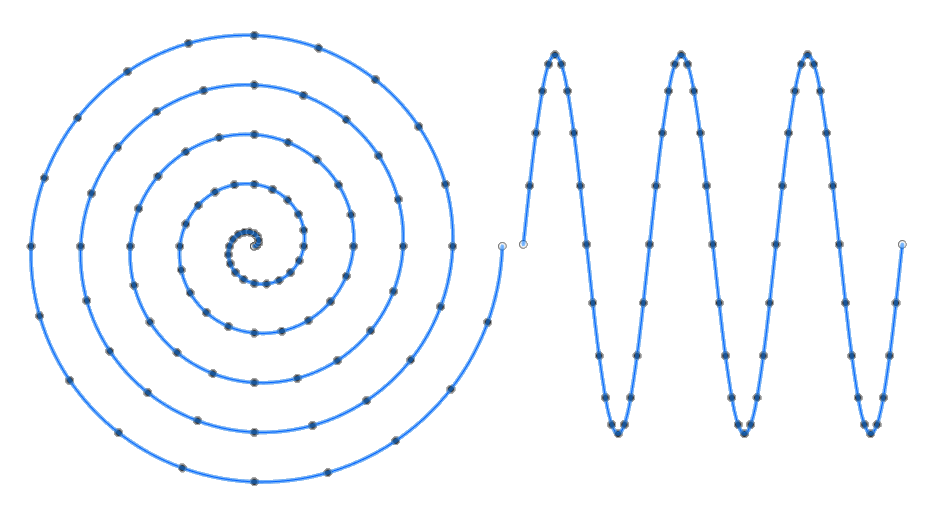
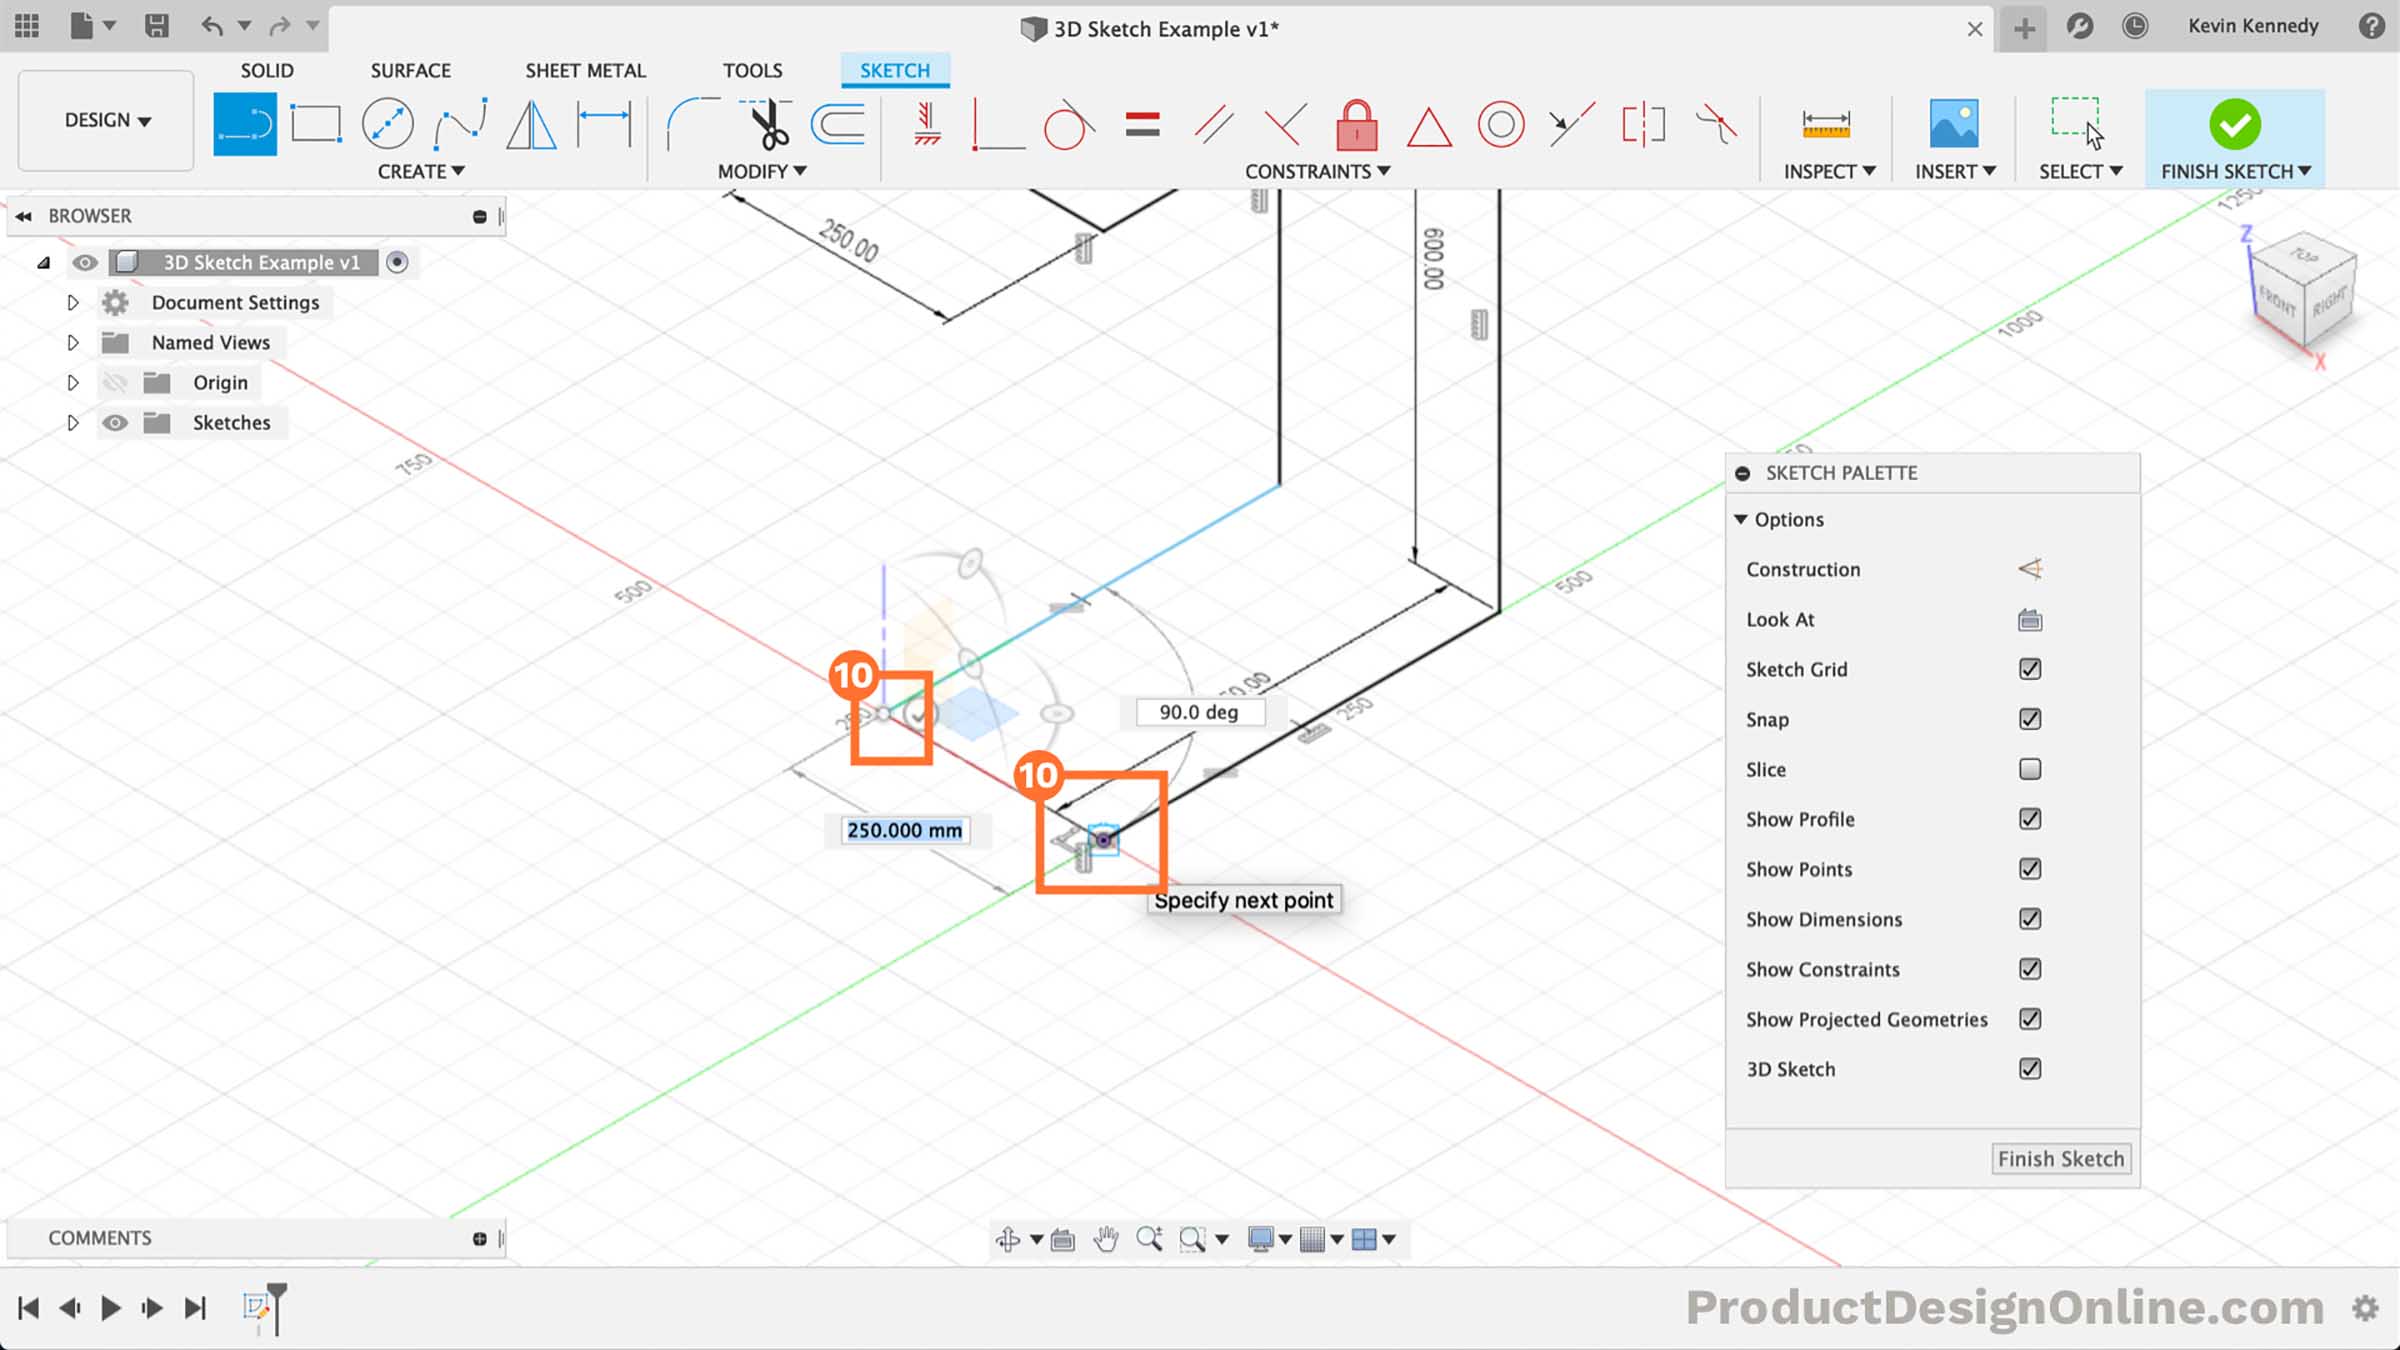
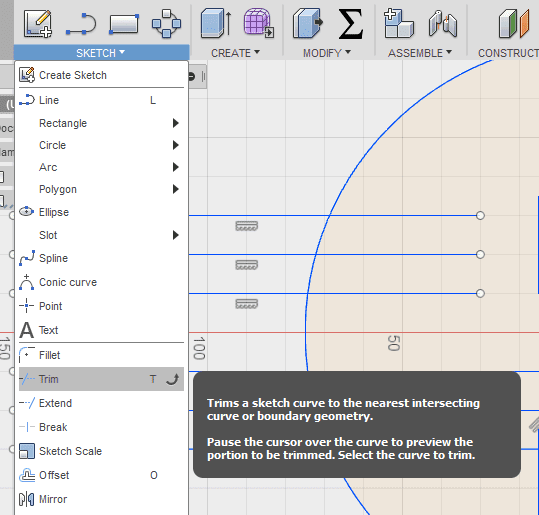
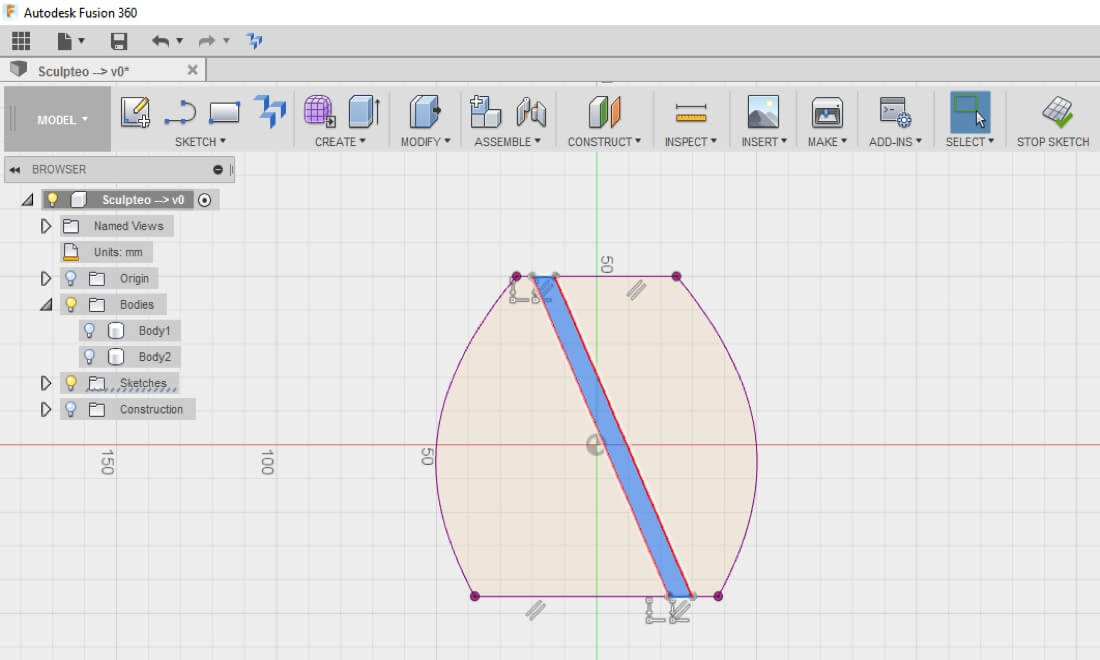
Fusion 360 3d sketch spline. The 3d sketch manipulator will appear at the default location 000. The spline commands can be activated from the sketch dropdown list or from the right click sketch menu. Point creates a sketch point. In fusion weve provided a choice from the two most commonly used spline degrees degree 5 and degree 3.
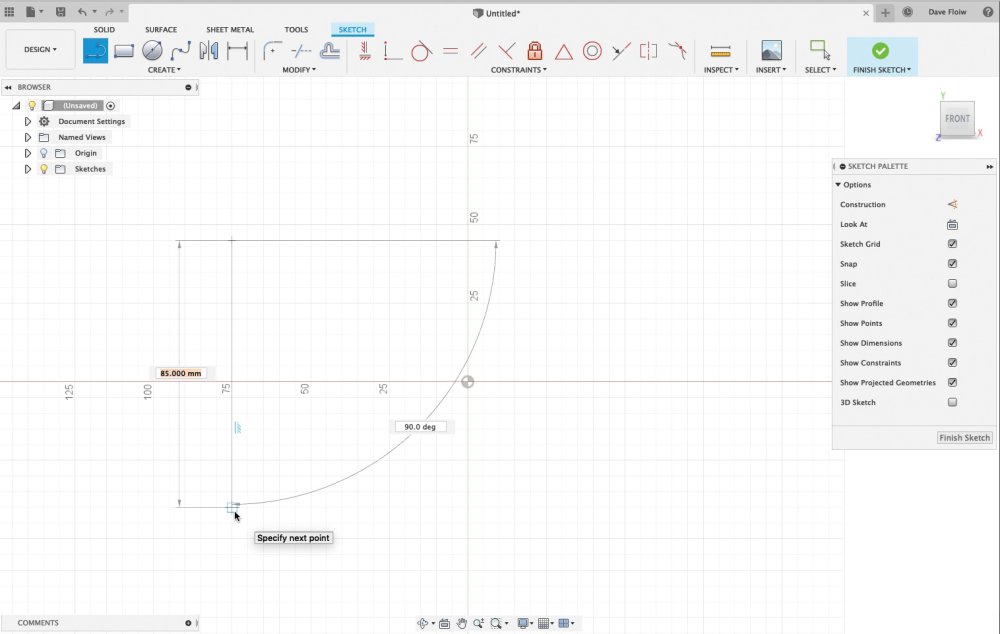
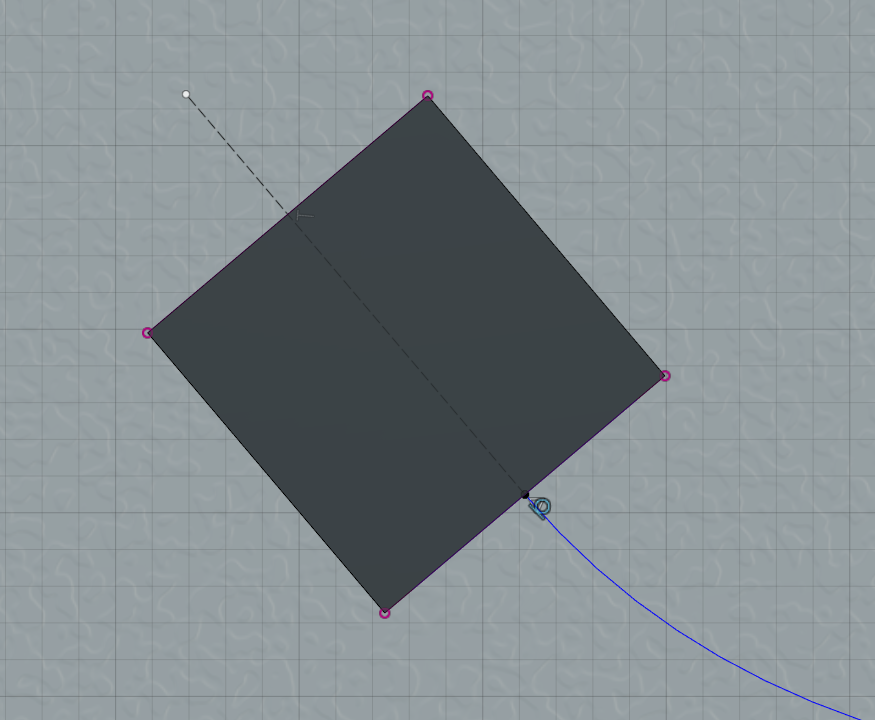
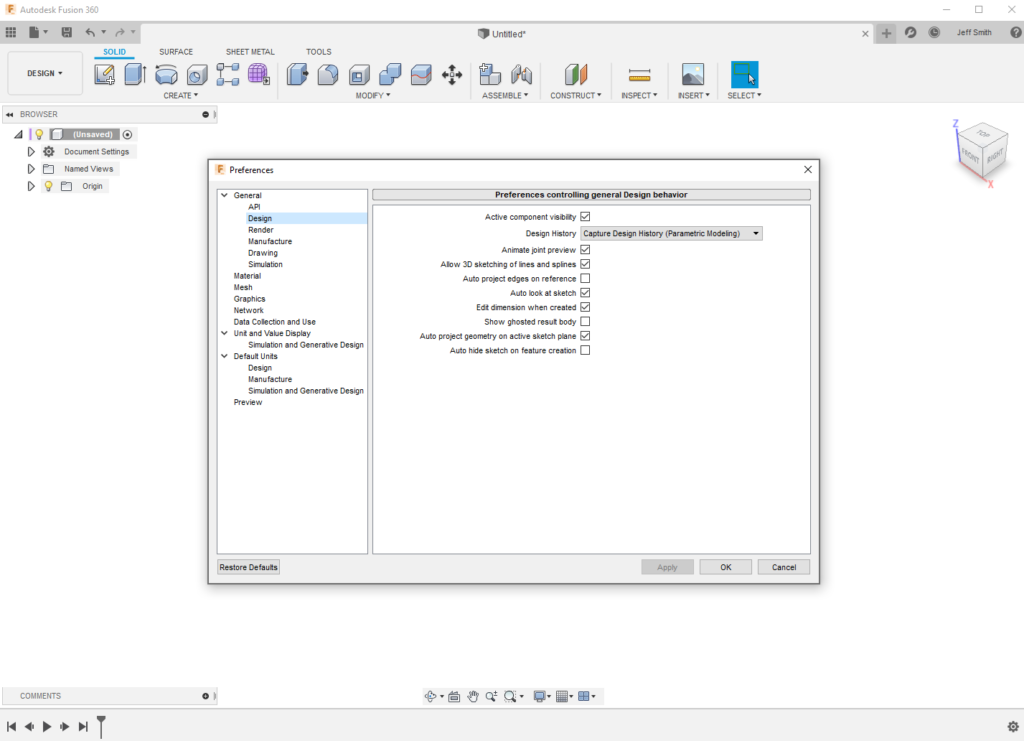
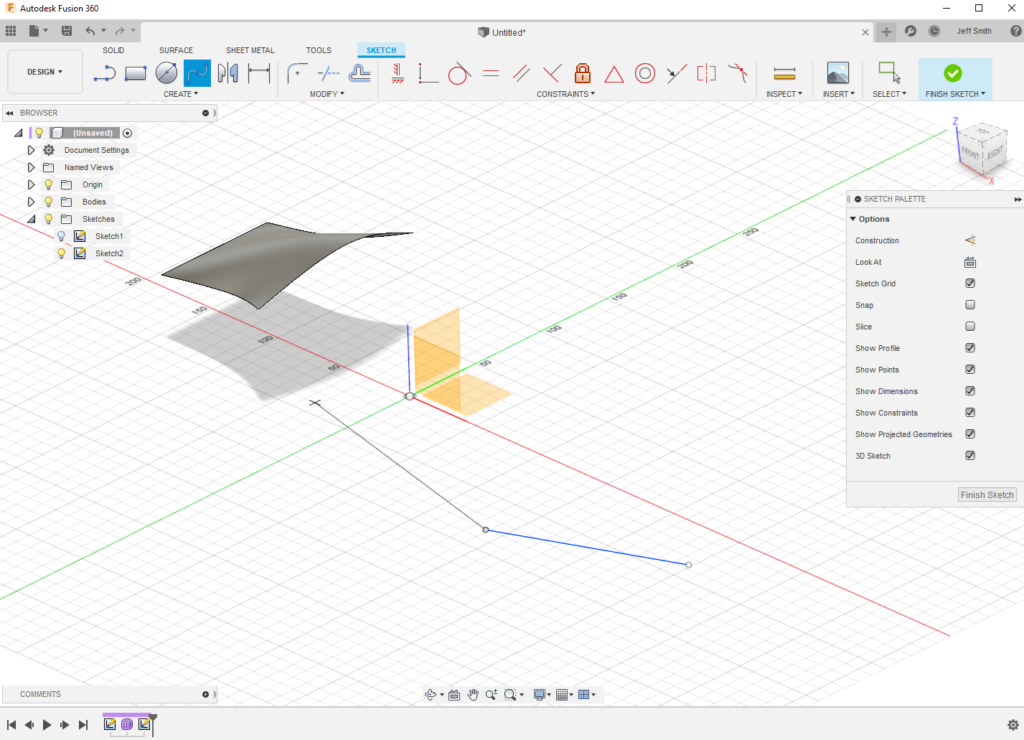
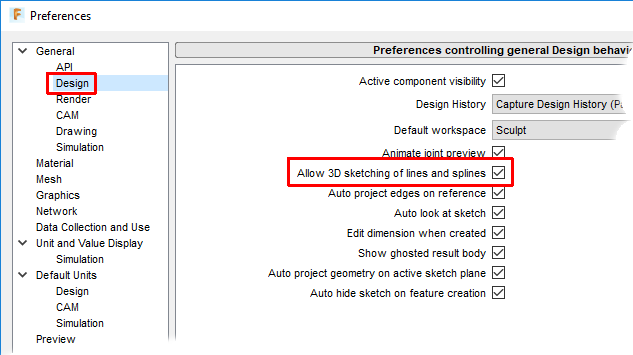
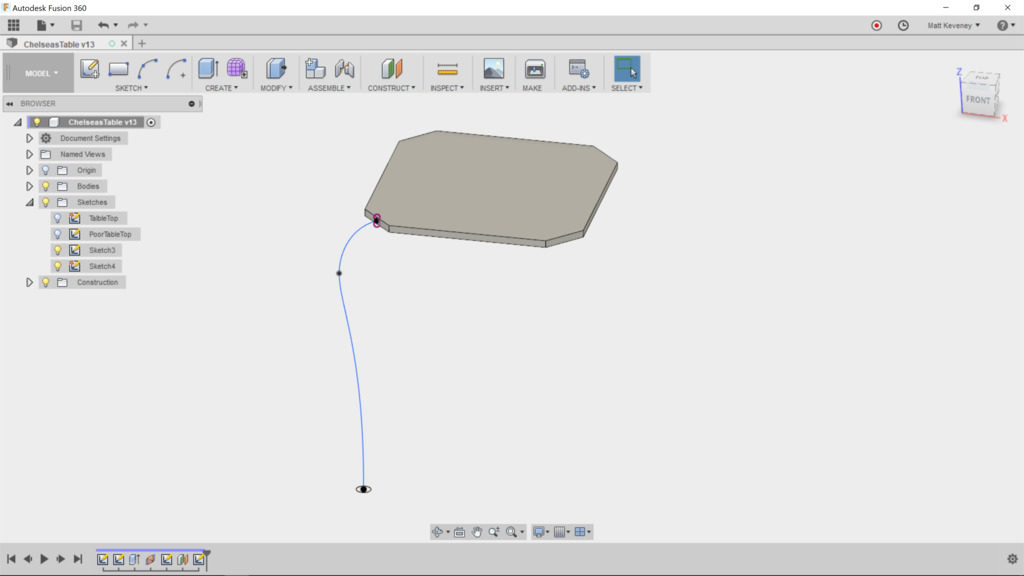
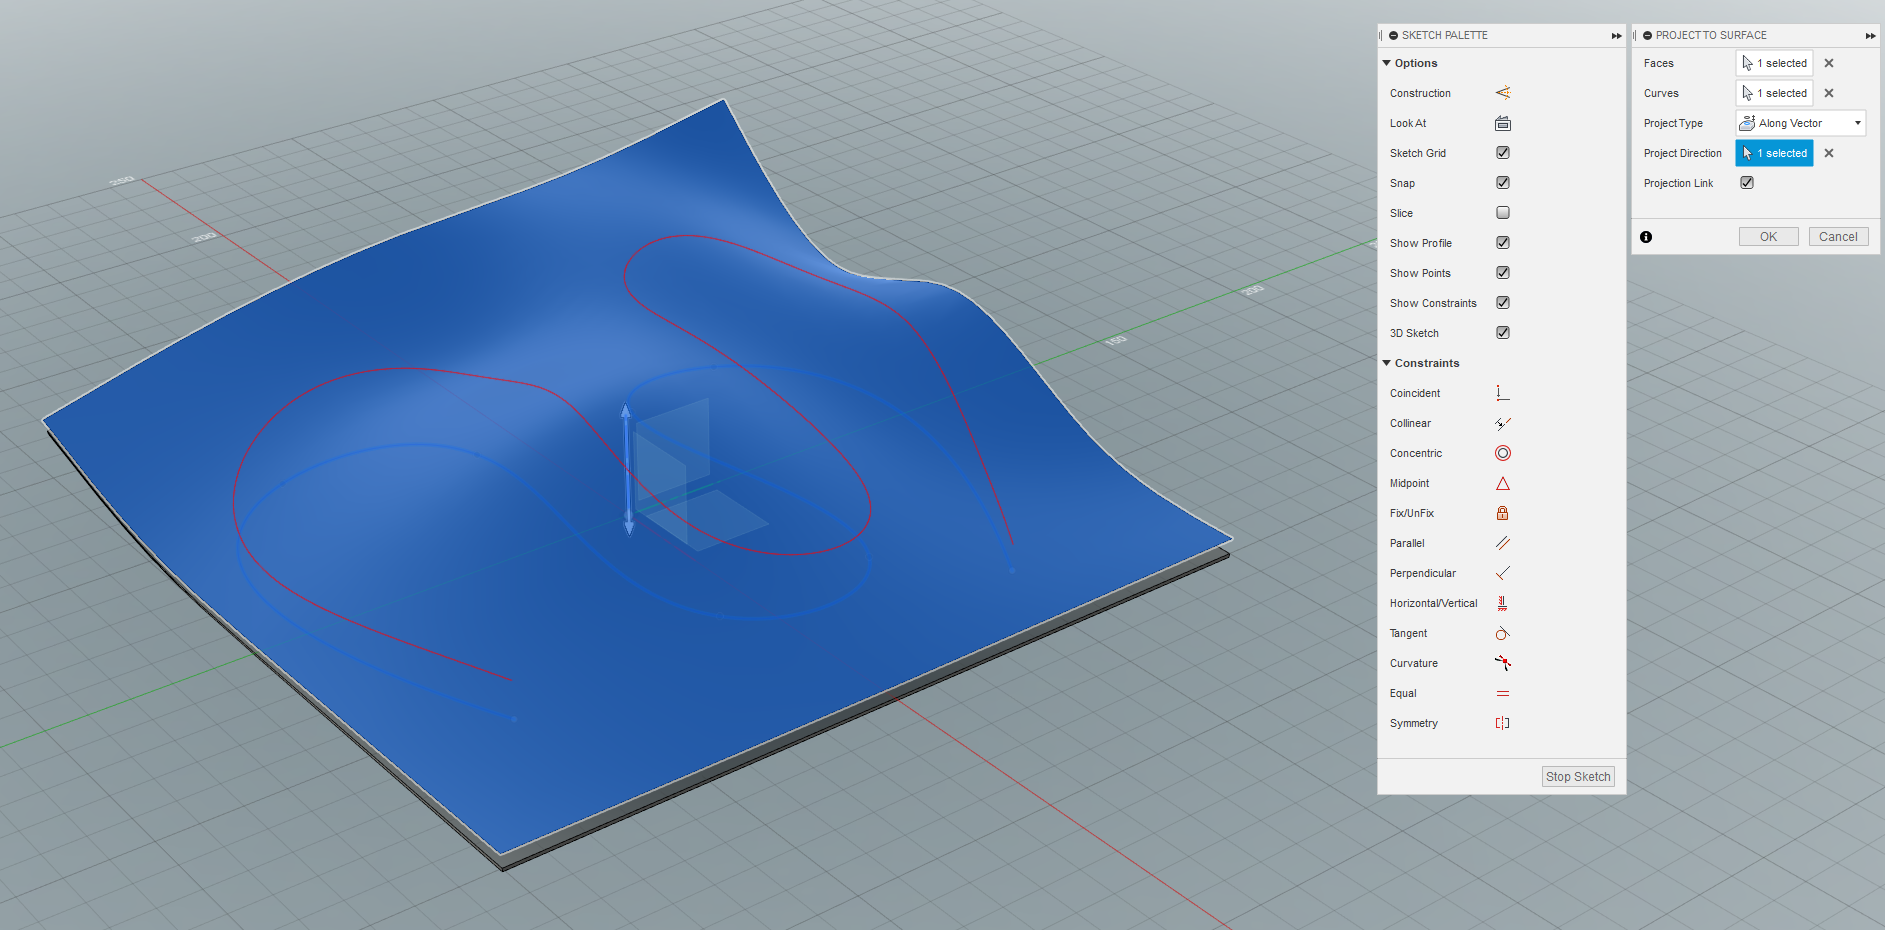
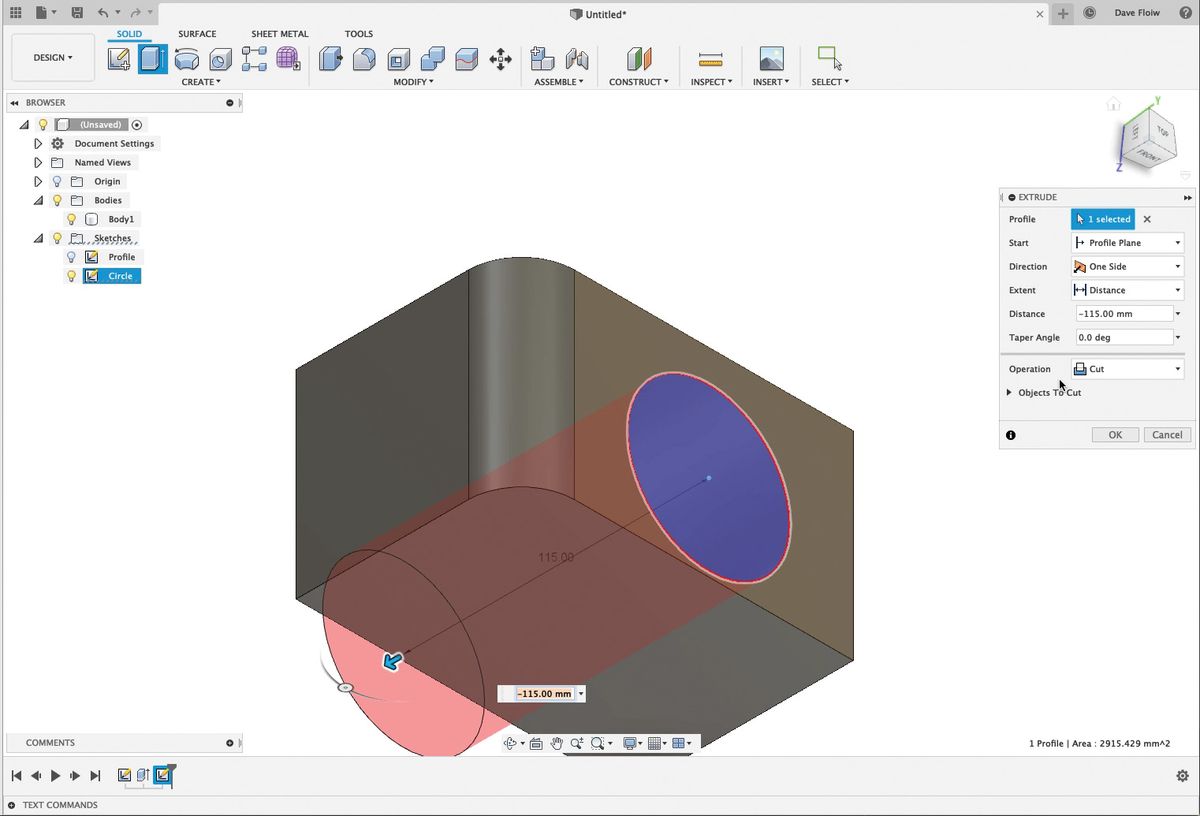
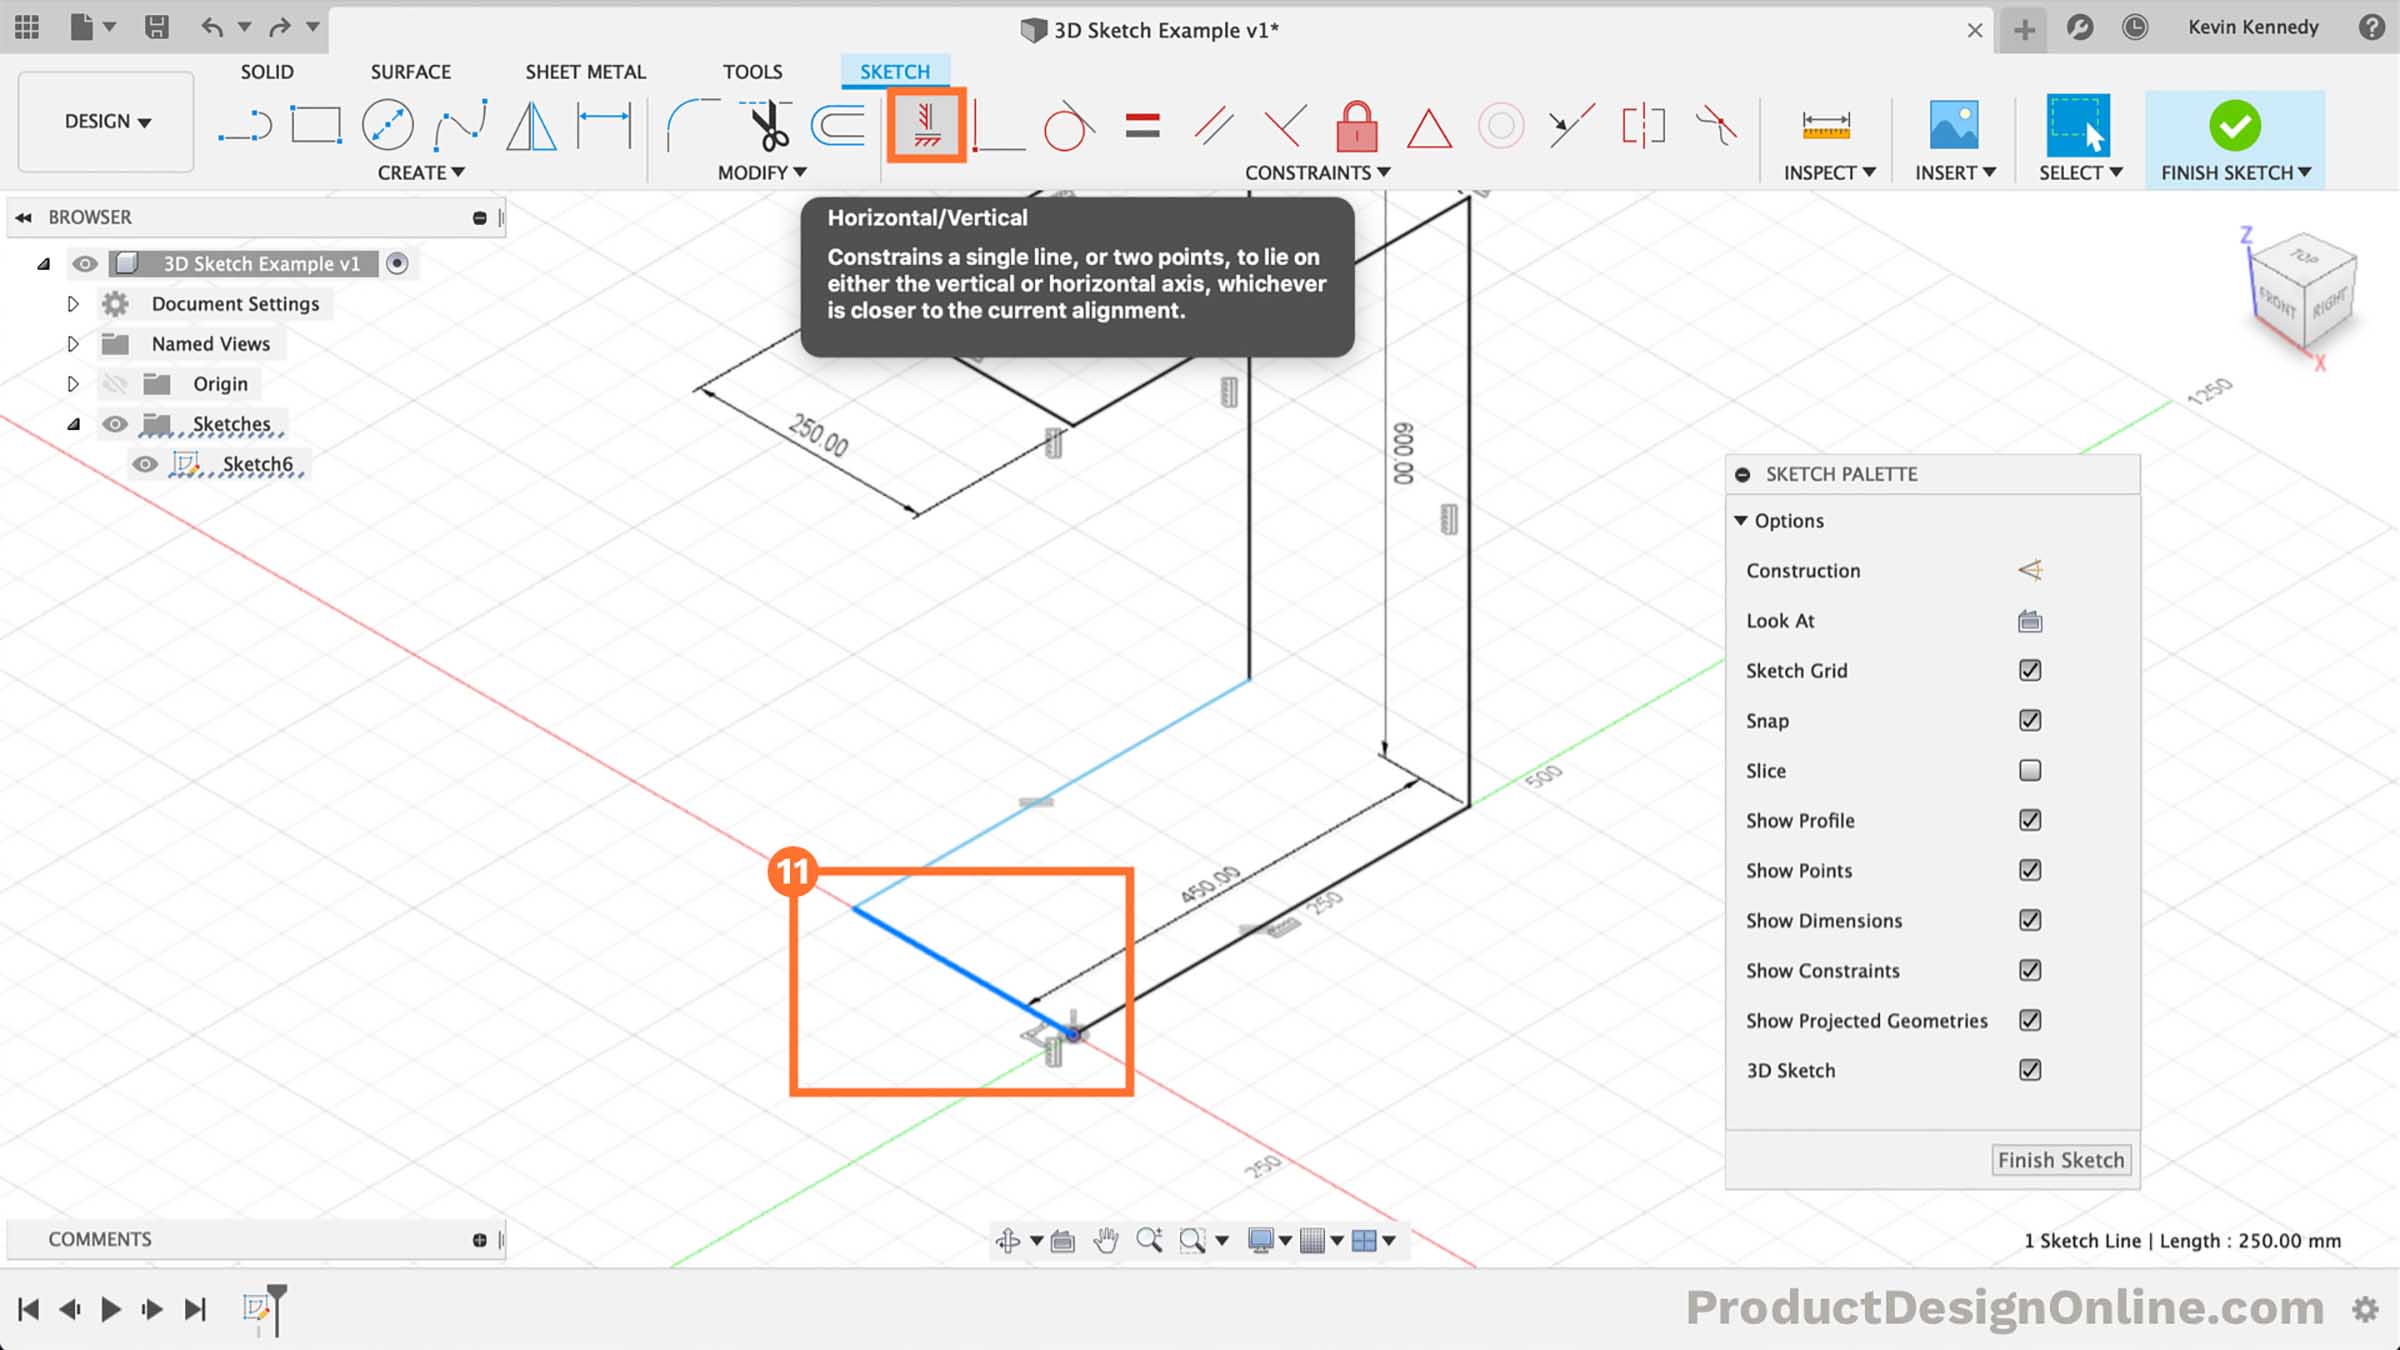
Ensure 3d sketch is turned on by going to preferences design and checking the box next to allow 3d sketching of lines and splines go to create coil and set the desired diameter. Select the initial plane or face to begin the sketch on. Select create sketch in the toolbar. Below is an active sketch with line and spline elements.
Fusion 360 does not have a sketch tool to automatically create a 3d spiral or helix. This is the most common workflow to create a 3d sketch helix or spiral. There are currently two types of spline commands available. The first type is the fit keyboard shortcut f6 makes the current file fill the screen.
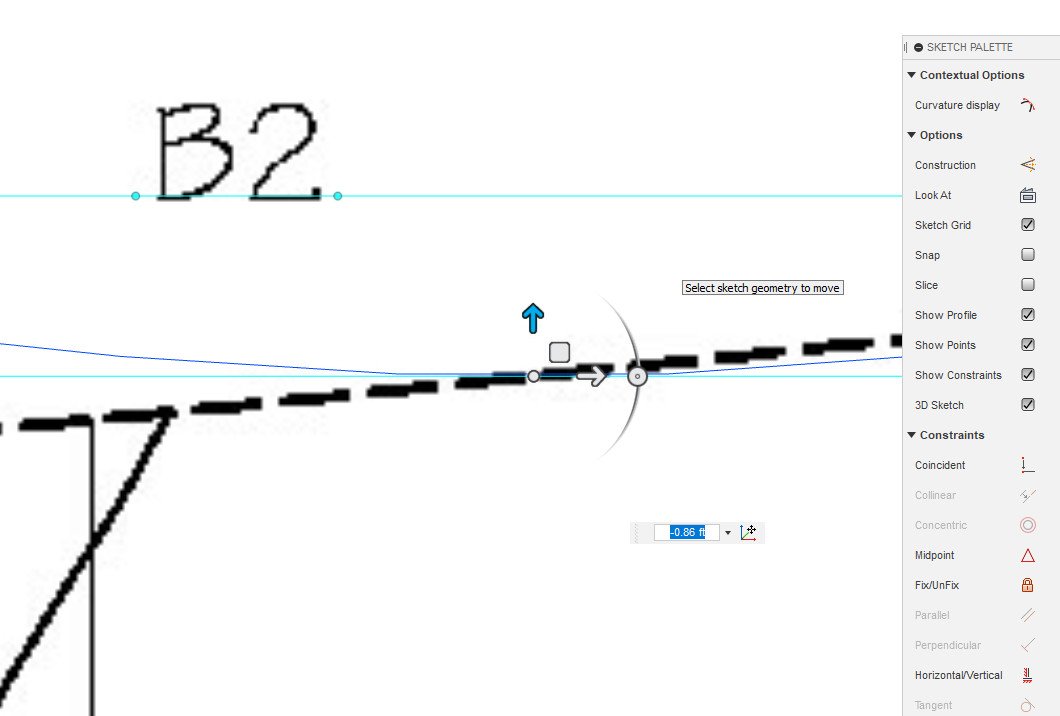
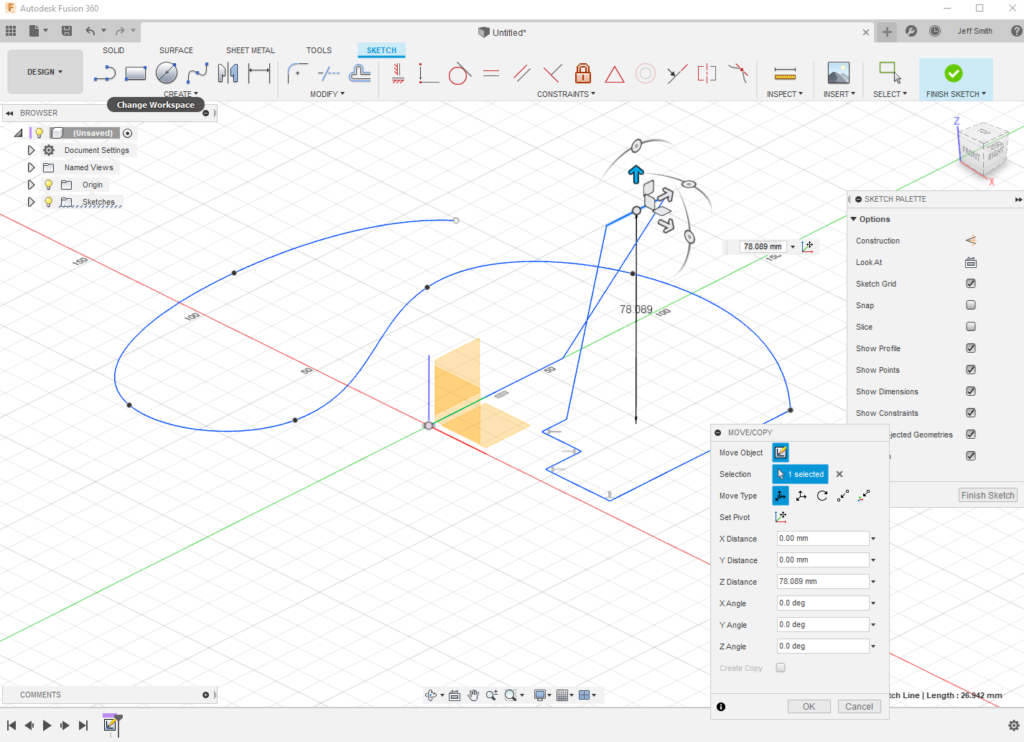
You can choose this from the spline degree option in the sketch palette while the control point spline tool is active. This provides an optimal balance of geometry smoothness and ease of use. Select the solid tab in the design workspace. With the same sketch active simply selecting the movecopy tool you can drag sketch elements into 3d space.
Create a 3d sketch in fusion 360. Degree 5 is the default option and will give the best results for most scenarios.
Fusion 360 Tutorial 3d Modeling For 3d Printing With Fusion 360

3d Sketch Fusion 360 Youtube

How To Split Face In Fusion 360 Fusion 360 Tutorial Youtube

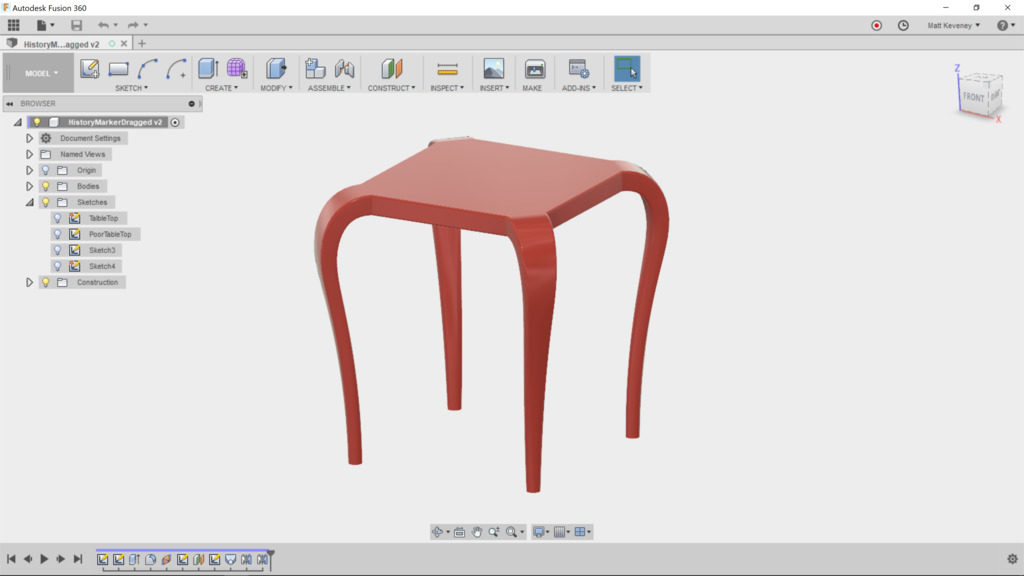
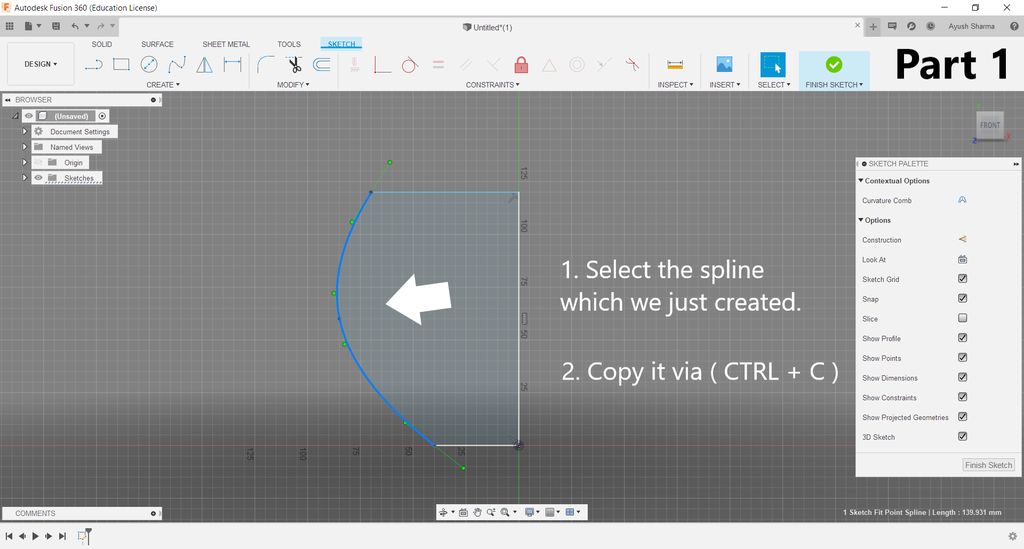
Copy The Master Strut Sketch

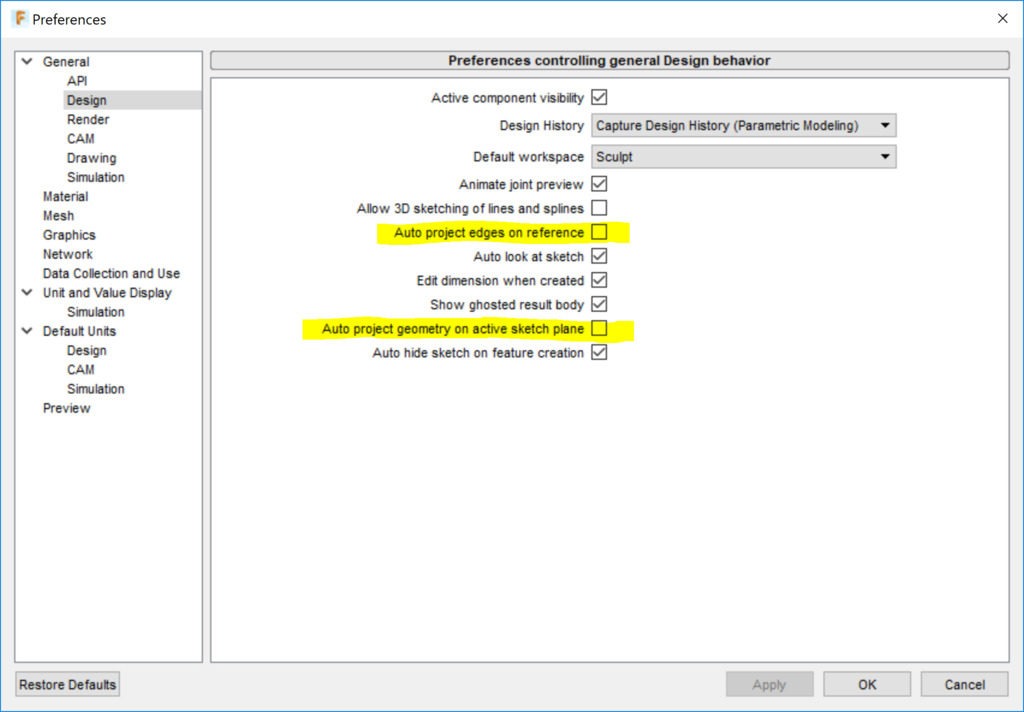
Tech Tip When And Why To Turn On Allow 3d Sketching Of Lines And